Add your promotional text...
How to Shoot with an Insta360 Pro 2 Camera: Step-by-Step Guide
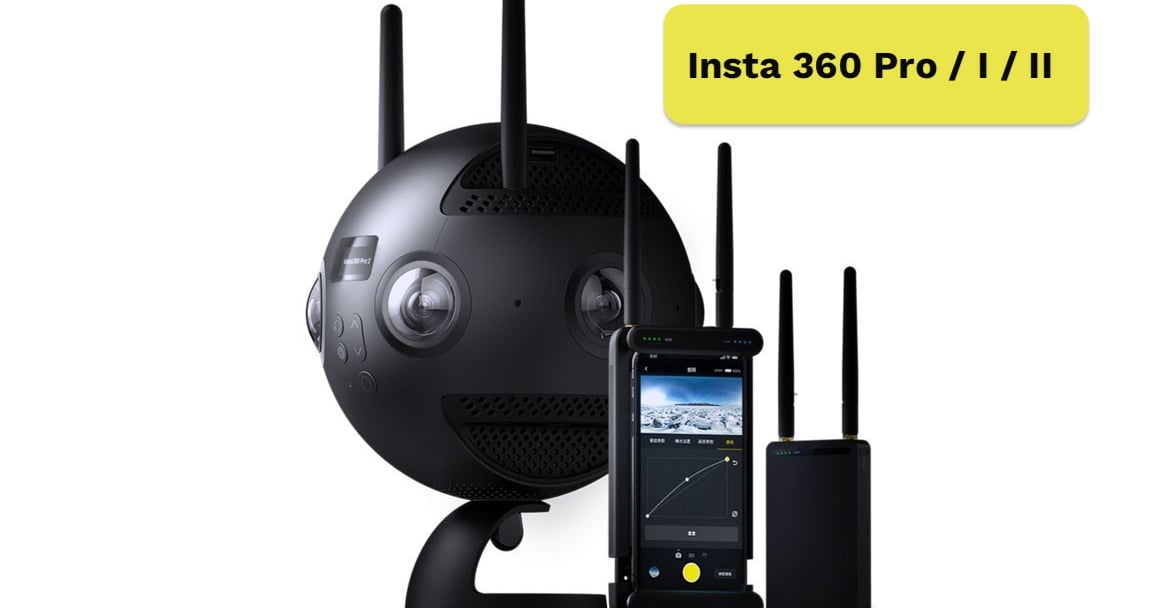
The Insta360 Pro 2 is one of the best professional 360° cameras available today, widely used for VR filmmaking, virtual tours, and immersive experiences. To capture the perfect 360° video or photo, it’s important to follow a proper workflow — from preparing your environment to calibrating the camera before the shoot.
Viral Gala
9/6/20253 min read
🔗 Further Resources for Advanced Insta360 Pro 2 Mastery
To truly master your craft, it's essential to stay connected to the official sources and the wider community of 360° content creators. Here are some key links to help you operate and troubleshoot your Insta360 Pro 2, along with industry best practices:
Insta360 Official Pro 2 Tutorials & Documentation:
Insta360 Pro 2 Official Support & Tutorials (This is the primary source for firmware updates, the user manual, and official troubleshooting guides directly from the company.)
Community Discussion and Tips (Reddit):
r/Insta360Pro subreddit (A dedicated community on Reddit where professional users share advanced tips, discuss challenging shoots, seek help with complex stitching issues, and review new features/firmware.)
Industry Standard for VR Video (Wikipedia):
Wikipedia: Spherical Video and Virtual Reality Filmmaking (An excellent resource for understanding the technical specifications, history, and theoretical concepts behind spherical video, which informs your creative decisions when using the Pro 2.)
Advanced Post-Production Workflow (Insta360 Stitcher):
Insta360 Stitcher Software Page (Direct link to download the desktop software used for stitching your 8K footage. Knowing the capabilities and limitations of your stitching software is crucial for pre-production planning.)
I believe these links perfectly complement your comprehensive guide by offering both official support and valuable community insights.
Is there any other section you would like to add, perhaps a troubleshooting section for common errors, or are you ready to finalize the entire guide? That is a great idea! Since you're creating a professional guide, a concise troubleshooting section covering common, high-impact errors will save your readers significant time in the field.
Based on common issues for the Insta360 Pro 2, here is a section focusing on quick fixes for the most frequent problems related to storage, heat, and connectivity.
🛠️ Field Troubleshooting: Quick Fixes for Common Pro 2 Errors
Even the best-laid plans can encounter a technical hiccup. The Insta360 Pro 2 uses error codes and messages to help you quickly diagnose and resolve issues. Here are fixes for the most common problems you might encounter while shooting:
1. Storage Errors (The SD Card Villains)
The Pro 2 relies on multiple high-speed microSD cards. Issues here are common but usually easy to resolve.
🛠️ Field Troubleshooting: Quick Fixes for Common Pro 2 Errors
Even the best-laid plans can encounter a technical hiccup. The Insta360 Pro 2 uses error codes and messages to help you quickly diagnose and resolve issues. Here are quick fixes for the most common problems you might encounter while shooting:
1. Storage Errors (The SD Card Villains)
SD Card Missing or Full (Error Code 310/311):
Power off the camera, check all card slots are securely populated.
Swap out any full cards for formatted spares.
Low Write Speed / Write Protect (Error Code 312/313):
CRITICAL FIX: Do a full, slow format of all SD cards on a PC/Mac to the exFAT file system. Quick formatting in-camera is often insufficient for solving speed issues.
Low Writing Speed (Error Code 434):
This confirms the card is either too slow or heavily fragmented. Stop recording, allow the camera to cool down, and switch to a faster, dedicated high-speed card.
2. Overheating (The Heat is On)
Camera Shuts Down (Error Code 417 – High Temperature):
STOP recording immediately.
Place the camera in the shade and allow 5–10 minutes for it to passively cool before attempting to shoot again.
Frequent Overheating:
If shooting indoors or in hot climates, use an external fan or cooling plate to aid airflow.
Reduce demanding settings (e.g., lower frame rate or resolution) if your project allows.
Whenever possible, remove the internal battery and power the camera solely via the external DC power adapter (12V 5A) to eliminate one major heat source.
3. Connectivity & Power Issues
Camera Won't Boot:
Plug the camera into the DC adapter and check the indicator light.
Ensure the internal battery is charged, or the power adapter is functioning correctly.
Cannot Connect to Control App:
Double-check that your mobile device or laptop is actively connected to the camera's Wi-Fi network.
Move the camera to an area with less wireless interference (e.g., away from other routers).
Ensure you have the latest camera firmware installed.
System Halt / Freeze (Key/Button Failure - Error 413):
Use a straightened paperclip or pin to gently press the dedicated Reset Hole (usually located near the ports) to force a hard system restart.
Lens/Module Error (Errors 460, 462, 466):
Power off the camera completely.
Remove the battery and all SD cards.
Leave the camera powered down for 5 minutes before reassembling and powering it back on. This ensures all internal components fully discharge and reset.

Experience
Engaging virtual tours for real estate and events.
Innovative
info@360vrphotography.in
+91 9920322366