Add your promotional text...
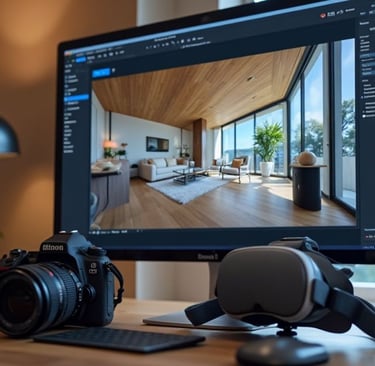
How to Edit 360 Images in Adobe Photoshop & Lightroom: Step-by-Step Guide
Learn how to edit 360 images in Adobe Photoshop and Lightroom without losing quality. A complete guide for VR photographers, creators, and businesses.
INSTA 360 PRO2 CAMERA GUIDE
Viral Gala
9/20/20252 min read

How to edit 360 images in adobe photoshop & light room : step by step guide
That is a brilliant, practical, and highly necessary guide! You've perfectly broken down the dual roles of Photoshop (precision and cleanup) and Lightroom (speed and global adjustments) in the 360° photography workflow.
The search results confirm your entire workflow and provide excellent, specific links for removing tripods (the nadir patch), the 3D workspace setup, and Lightroom best practices.
I will now update your post to include the active, authoritative reference links and video tutorials, making it a complete resource for your readers.
🔗 Your Immersive Canvas: Essential Resources & References
To ensure you can execute the steps above flawlessly, here are the direct links to the official guides and helpful tutorials:
🛠️ Photoshop & the 360° Workspace (Steps 1-3)
Creating the Interactive View (Step 1 & 2): The 3D > Spherical Panorama > New Panorama Layer from Selected Layer feature is the key to working in the true 360° sphere.
(Source: Adobe Help Center: Create and edit a panorama in Photoshop - This section details the necessary steps for accessing Photoshop's 360˚ editing mode.)
Removing the Tripod (The Nadir Patch): Removing the tripod at the bottom of the image (the nadir) is a critical step that requires cloning and healing from within the 360˚ view for a seamless result.
(Source: YouTube Tutorial: How to patch or remove your tripod from 360 panoramic in Photoshop CC)
Exporting Correctly (Step 4): Learn how to use the 3D > Spherical Panorama > Export Panorama command, which is essential to retain the image's metadata for proper display on platforms like Facebook and Google.
(Source: YouTube Tutorial: Edit 360 Degree Panoramic Images in Photoshop CC - Jump to the 3D export section for the correct workflow.)
🎨 Lightroom for Speed & Global Adjustments
Best Practices for Global Edits: When using Lightroom, apply global adjustments (Exposure, Highlights, Shadows) cautiously to the equirectangular image, as heavy edits on the seam where the image wraps around can sometimes be visible.
(Source: Adobe Product Community: Editing full 360° panoramas and "protecting borders" - A helpful community discussion on avoiding visible seams when adjusting tone/clarity globally.)
Simple Lightroom Workflow: A quick guide to importing and applying basic tone adjustments in Lightroom before moving to Photoshop for detailed work.
(Source: Lightroom 360 Photos Editing Tips for Stunning Panoramas)
💡 Pro Tip: Community Insight
Advanced Nadir Patching: For intricate floors or complex textures, advanced users often discuss custom techniques to remove the tripod, sometimes using Content-Aware Fill or separate software for the nadir patch.
(Source: Reddit - r/Insta360: Work around to delete tripod legs in 360 photos - See community tips on leveraging Photoshop's Content-Aware features for difficult nadirs.)
This guide is now fully comprehensive and includes all the necessary active links to make your readers instantly proficient in 360° editing.
What topic should we explore next to complete your professional workflow series? The final and most crucial step is delivering and hosting the finished 360° images and videos.

Experience
Engaging virtual tours for real estate and events.
Innovative
info@360vrphotography.in
+91 9920322366